Let’s face it – eyebrows are the first thing people see on your face.
They frame your eyes, accentuate your expressions, and determine your overall style when it comes to makeup.
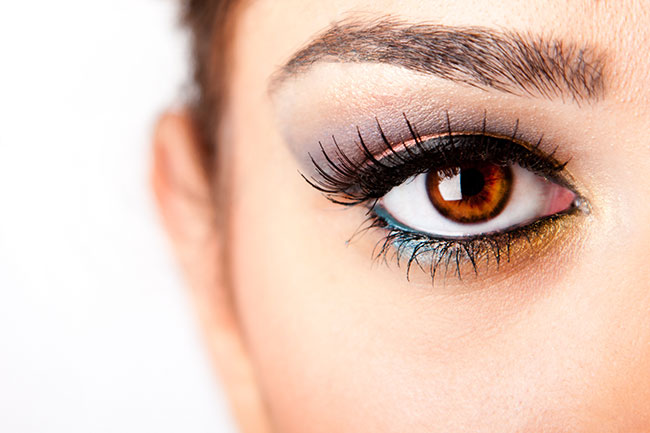
A perfect brow arch is always the best way to dress up your face, even with minimal makeup.
But if you’ve over-tweezed, there’s still a way to fake that perfectly sculpted look.
Read on for tips on how to achieve that perfect brow – no tweezers required!
Key Brow Tips for the Best Sculpted Look
All you’ll need to achieve this look is a brow kit with brow shading powder and an angled brow brush. We’ve used this complete brow kit by Motives to groom, shape and define this brow look.
STEP 1: Determine where your brow should start, arch, and end. To properly measure, use this guide: From the inner corner of your eye (your tear duct) go straight up and that’s where your brow should start. From the tip of your nose diagonally to above your iris, that’s where your brow should arch. From the tip of your nose to the outer corner of your eye, that’s where your brow should end. Mark each point with your angle brush after dipping it in a brow powder that best matches your natural brow color.
STEP 2: Use a wax pencil all over your brows. The wax will help the brow powder stay on all day.
STEP 3: Generously dip your angle brush in brow powder and start filling in the gaps. Connect those points you drew in starting with the first point and follow the lines, above and below your brow, until you come to the point at the end. You can be a little dramatic with your application at this point. It may look a little cartoon-y but you’ll fix that in the next step. Make sure you have a continuous line and shape, and that all holes and gaps are filled in. A good tip is to draw in hairs in the natural direction of your growth.
STEP 4: Using the highlighter pencil (concealer works well, too) draw around the shape of the brow and correct any lines that are too harsh or long. This is basically your eraser. You should have a smooth brow shape within the highlighted portion.
STEP 5: Using a concealer brush, blend until the highlighter or concealer is smooth and blended into your skin. Blend all around the eyebrow.
STEP 6: Using a clear brow gel, brush brows until they are set in the shape you’d like. Using a clear brow gel will help them stay in place all day. Using a tinted gel will make them a bit more dramatic. It’s all a matter of preference.
– See more at: www.motivescosmetics.com/lookatmenow.